As you’ve likely heard, UBC is retiring Connect at the end of August 2018. If you have courses in Connect that you would like to keep a copy of, follow this step-by-step guide to exporting content from Connect:

Step 1. Select Export/Archive Course from the Packages and Utilities in the side menu.
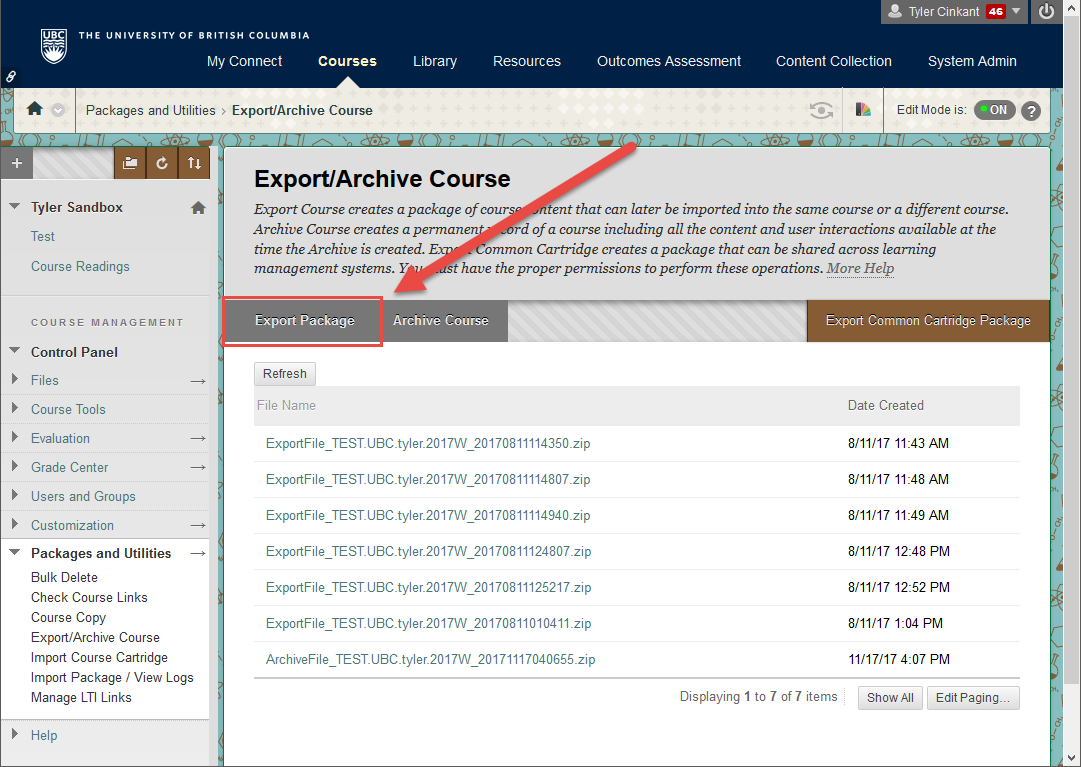
Step 2. Select Export Package. On this page you will see previous course exports as well!

Step 3. Make sure you select the radio button next to Copy links and include copies of the files outside of the course default directory (which is one of the options for Files Outside of the Course Default Directory).
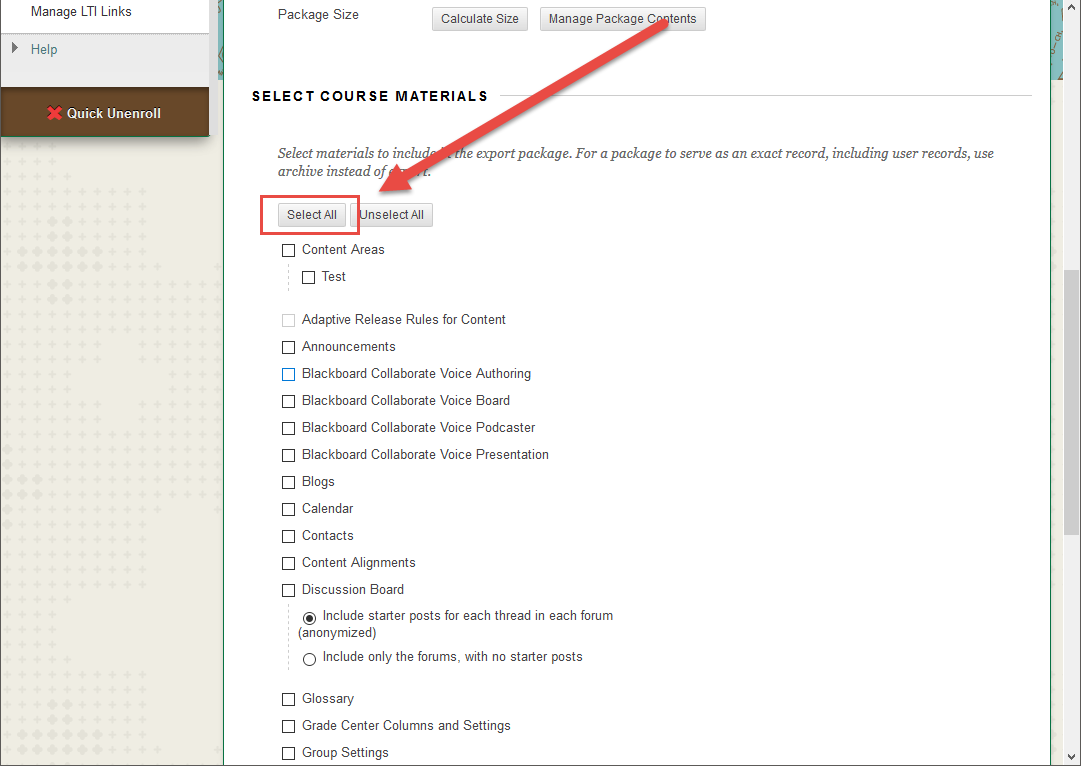
Step 4. Select All (or any content you want).
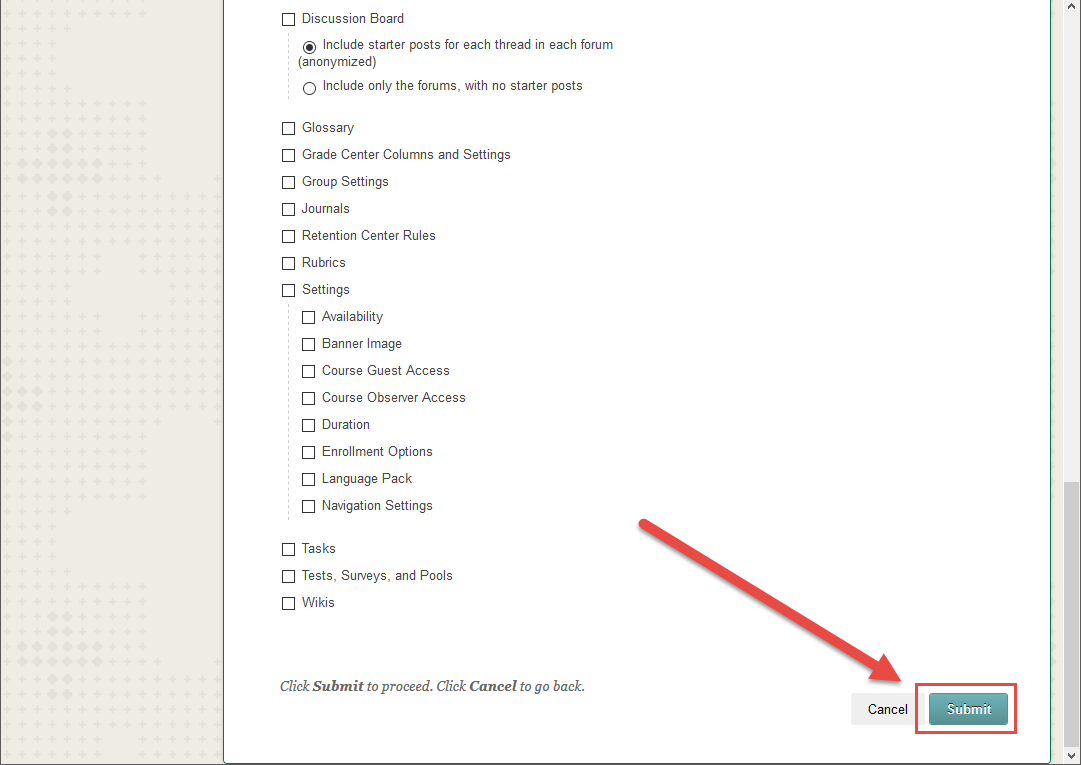
Step 5. Hit the Submit button.
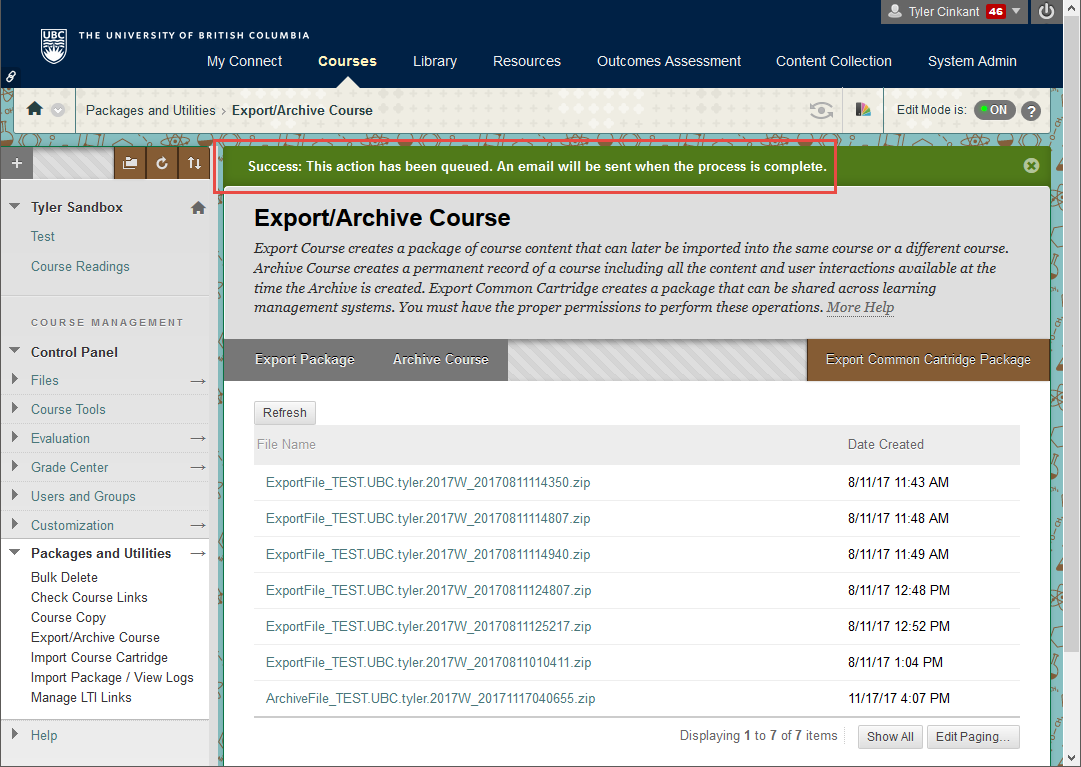
Step 6. Your course is now exporting, so it’s time for the waiting game. The amount of time the export takes depends on the size of your course. For small courses, it should be a matter of seconds, so you can just refresh your browser and see if it’s done. For larger courses, you may want to wait until you receive the email that the course has finished exporting.
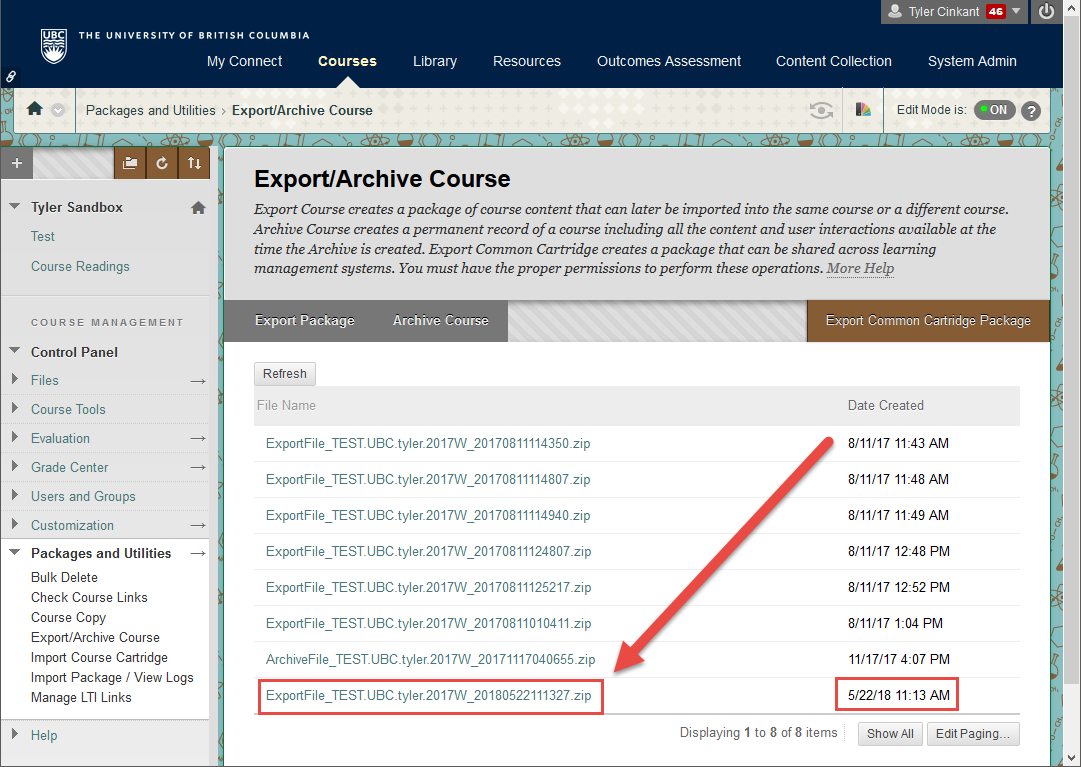
Step 7. Once your course is exported, it’s available for download. Make sure you’re downloading the correct export by looking at the Date Created.
Now that your course has been successfully exported, you’ll likely want to import it into Canvas. Here’s a step-by-step guide on how to do that!